Mumble tutorial: Difference between revisions
Jump to navigation
Jump to search
No edit summary |
No edit summary |
||
| Line 21: | Line 21: | ||
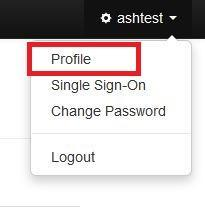
::*Select profile from the menu at top right: | ::*Select profile from the menu at top right: | ||
:::[[File:mumble_tute1. | :::[[File:mumble_tute1.png|border|300px]] | ||
| Line 38: | Line 38: | ||
==Initial Mumble configuration:== | ==Initial Mumble configuration:== | ||
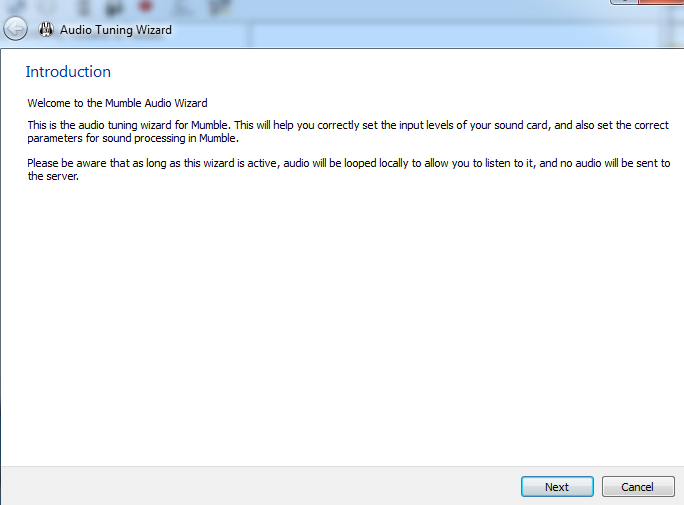
*Start Mumble and click next on the Audio wizard | *Start Mumble and click next on the Audio wizard | ||
::[[File:mumble_tute5.png]] | ::[[File:mumble_tute5.png|border]] | ||
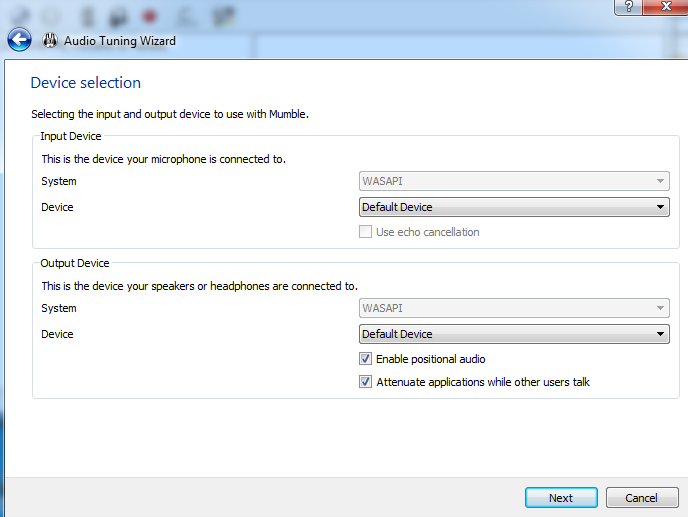
*Usually, the Default Device is correct. If you have multiple microphones, headsets, and speakers, select the devices you want to use from the dropdown. | *Usually, the Default Device is correct. If you have multiple microphones, headsets, and speakers, select the devices you want to use from the dropdown. | ||
::[[File:mumble_tute6.png]] | ::[[File:mumble_tute6.png|border]] | ||
*You should hear audio giving you an example of speex | *You should hear audio giving you an example of speex | ||
::[[File:mumble_tute7.png]] | ::[[File:mumble_tute7.png|border]] | ||
*Talk into your microphone and adjust the bar as needed | *Talk into your microphone and adjust the bar as needed | ||
::[[File:mumble_tute8.png]] | ::[[File:mumble_tute8.png|border]] | ||
*It is highly recommended that you select “Push To Talk”. After checking the radio button, click in the box beside it, then press the key you want | *It is highly recommended that you select “Push To Talk”. After checking the radio button, click in the box beside it, then press the key you want to use to talk. | ||
::[[File:mumble_tute9.png|border]] | |||
::[[File:mumble_tute9.png]] | |||
*Usually, default settings for Quality & Notifications are sufficient | *Usually, default settings for Quality & Notifications are sufficient | ||
::[[File:mumble_tute10.png]] | ::[[File:mumble_tute10.png|border]] | ||
*Positional Audio is not relevant to Mumble for AIE | *Positional Audio is not relevant to Mumble for AIE | ||
::[[File:mumble_tute11.png]] | ::[[File:mumble_tute11.png|border]] | ||
*Finish! | *Finish! | ||
::[[File:mumble_tute12.png]] | ::[[File:mumble_tute12.png|border]] | ||
*AIE uses usernames and passwords, so just select the default certificate option: | *AIE uses usernames and passwords, so just select the default certificate option: | ||
::[[File:mumble_tute13.png]] | ::[[File:mumble_tute13.png|border]] | ||
*Finish! | *Finish! | ||
::[[File:mumble_tute14.png]] | ::[[File:mumble_tute14.png|border]] | ||
==Adding the AIE server:== | ==Adding the AIE server:== | ||
*Click the “Add New…” button | *Click the “Add New…” button | ||
[[File:mumble_tute15.png]] | [[File:mumble_tute15.png|border]] | ||
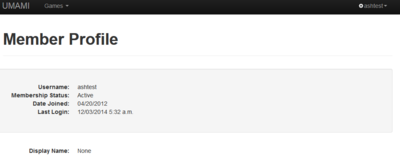
*On your profile page | *On your profile page | ||
[[File:mumble_tute16.png]] | [[File:mumble_tute16.png|border]] | ||
*Locate your username (see below) | *Locate your username (see below) | ||
[[File:mumble_tute17.png]] | [[File:mumble_tute17.png|border]] | ||
*Enter the values as shown, but use your UMAMI username! | *Enter the values as shown, but use your UMAMI username! | ||
[[File:mumble_tute18.png]] | [[File:mumble_tute18.png|border]] | ||
*Click connect | *Click connect | ||
[[File:mumble_tute19.png]] | [[File:mumble_tute19.png|border]] | ||
*If you have entered your UMAMI USERNAME correctly, the first time you connect, mumble will prompt you for your password. Enter your UMAMI Password. | *If you have entered your UMAMI USERNAME correctly, the first time you connect, mumble will prompt you for your password. Enter your UMAMI Password. | ||
[[File:mumble_tute20.png]] | [[File:mumble_tute20.png|border]] | ||
*Press Okay | *Press Okay | ||
*Double-click a channel name to move to that channel | *Double-click a channel name to move to that channel | ||
[[File:mumble_tute21.png]] | [[File:mumble_tute21.png|border]] | ||
*Notice that even though the username specified was “ashtest”, the name shown in mumble is “Ashmumble” – ie the value entered in UMAMI Display Name field. | *Notice that even though the username specified was “ashtest”, the name shown in mumble is “Ashmumble” – ie the value entered in UMAMI Display Name field. | ||
*If it won’t let you move channels, it is probably due to using the wrong UMAMI USERNAME. | *If it won’t let you move channels, it is probably due to using the wrong UMAMI USERNAME. | ||
Revision as of 22:19, 3 December 2014
AIE Mumble Configuration – Windows Guide
Requirements
- An UMAMI account with an approved application associated with it.
- Every AIE member has an UMAMI account, even if you joined before UMAMI
- Don’t create a new UMAMI account if you lost or forgot your existing account details. Email Officers or contact an officer in-game for assistance.
- If you simply forgot your password, reset it here: https://umami.aie-universal.net/account/password/reset/
- Hint: The password reset email will also tell you your UMAMI username.
- Note that your UMAMI username is probably not your character name.
- The latest version of Mumble (currently 1.2.8 as of Dec2014)
- Get Mumble (SourceForge link)
Getting Started
- Install Mumble using the wizard selecting the default options.
- Optionally, set your Display Name in your UMAMI profile. So that you appear to other players in mumble by a name that they would know you by, rather than your umami username, you can modify your UMAMI profile:
- Login to UMAMI:
Initial Mumble configuration:
- Start Mumble and click next on the Audio wizard
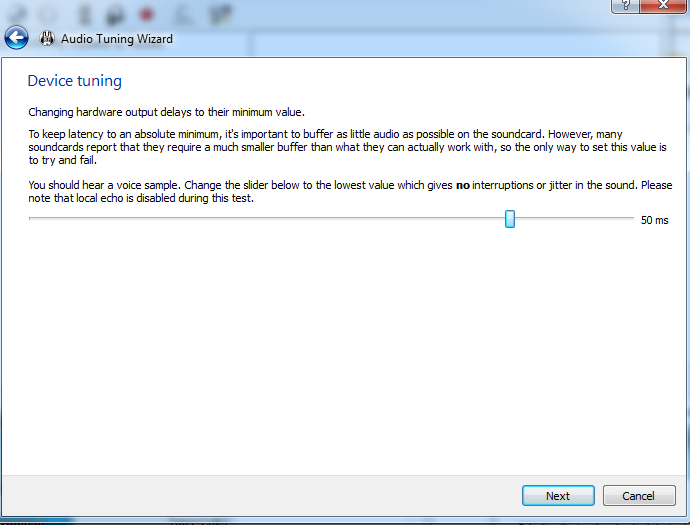
- Usually, the Default Device is correct. If you have multiple microphones, headsets, and speakers, select the devices you want to use from the dropdown.
- You should hear audio giving you an example of speex
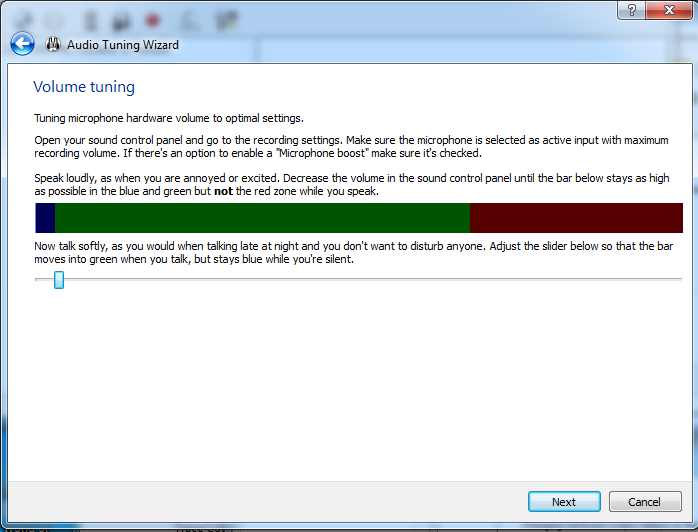
- Talk into your microphone and adjust the bar as needed
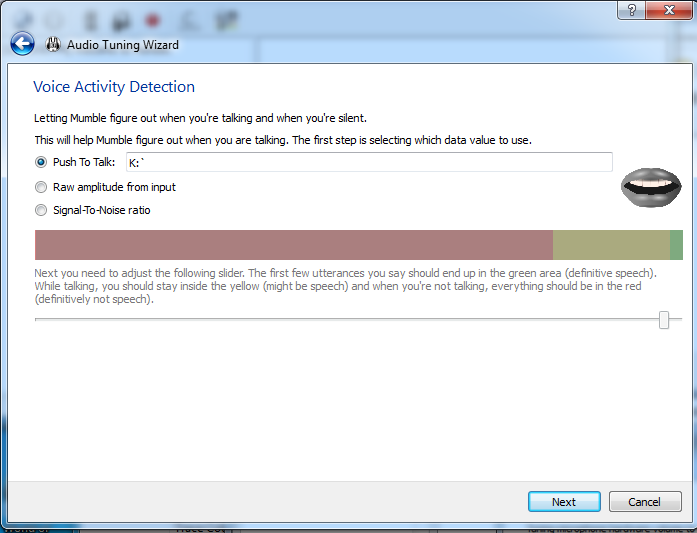
- It is highly recommended that you select “Push To Talk”. After checking the radio button, click in the box beside it, then press the key you want to use to talk.
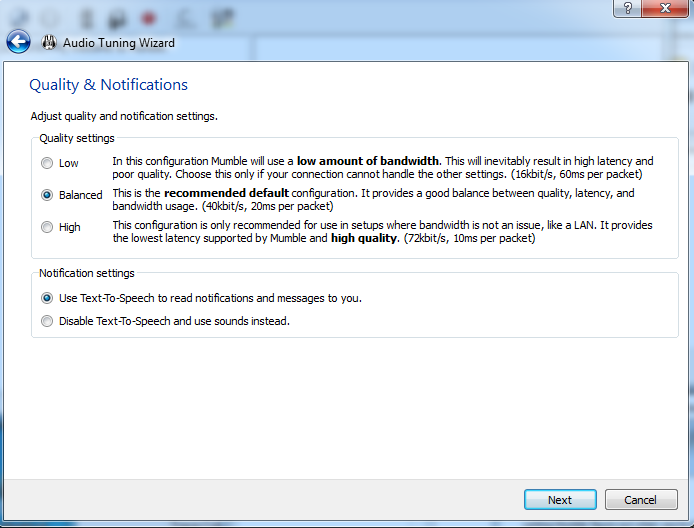
- Usually, default settings for Quality & Notifications are sufficient
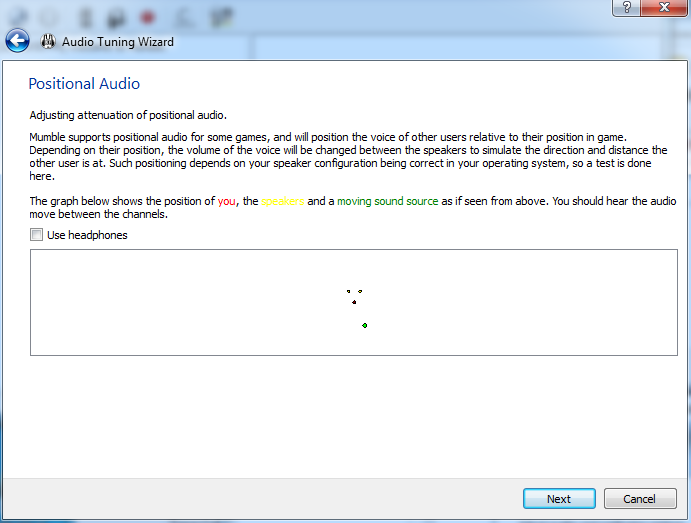
- Positional Audio is not relevant to Mumble for AIE
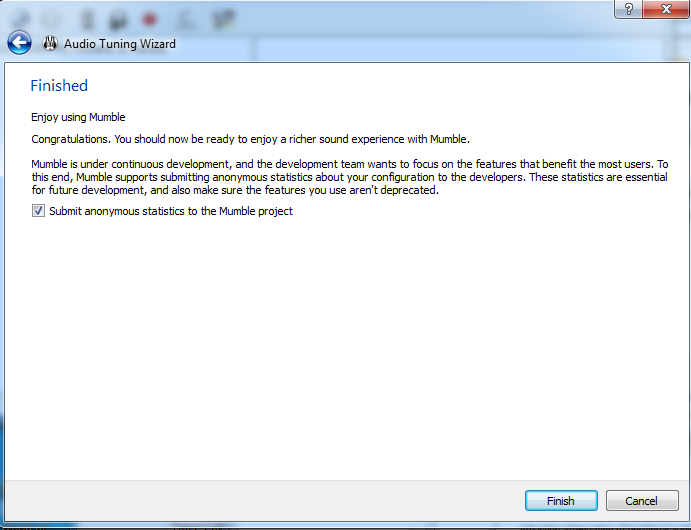
- Finish!
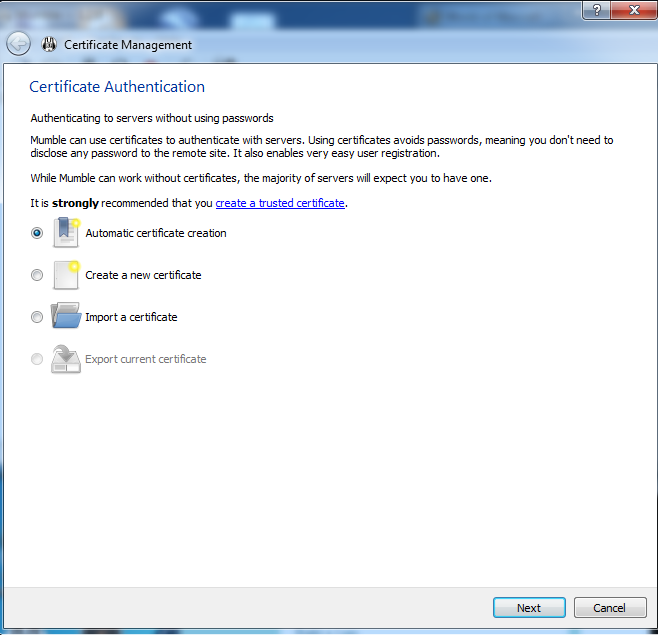
- AIE uses usernames and passwords, so just select the default certificate option:
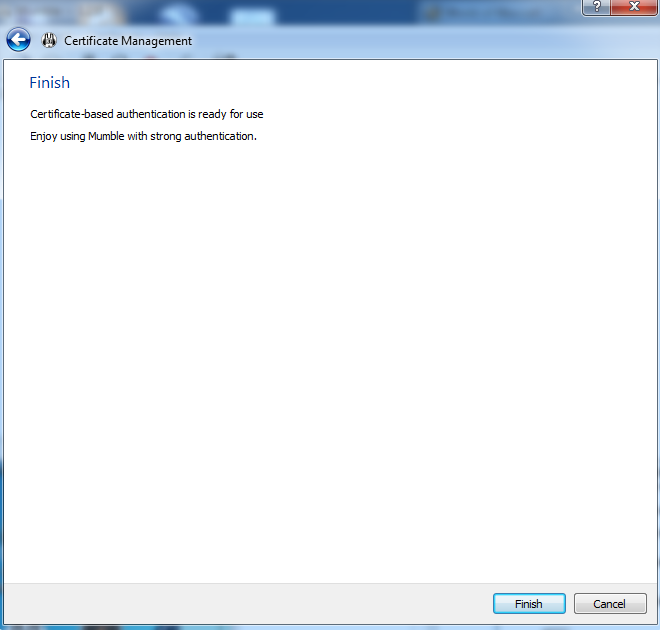
- Finish!
Adding the AIE server:
- Click the “Add New…” button
File:Mumble tute15.png
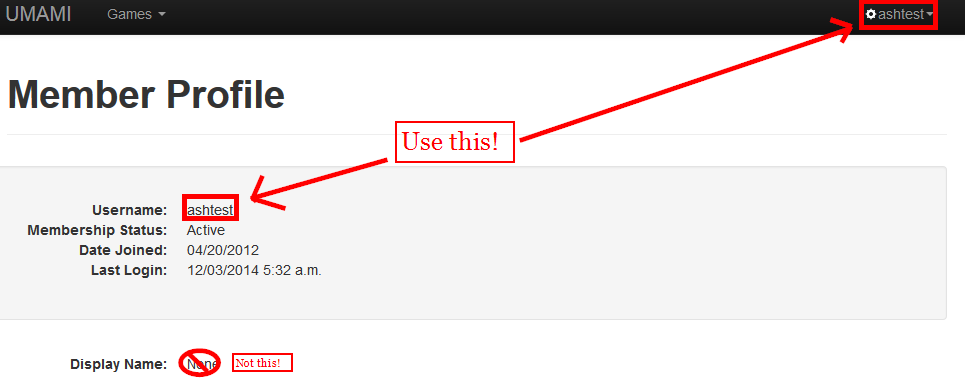
- On your profile page
- Locate your username (see below)
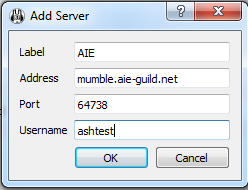
- Enter the values as shown, but use your UMAMI username!
- Click connect
File:Mumble tute19.png
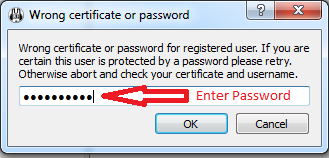
- If you have entered your UMAMI USERNAME correctly, the first time you connect, mumble will prompt you for your password. Enter your UMAMI Password.
- Press Okay
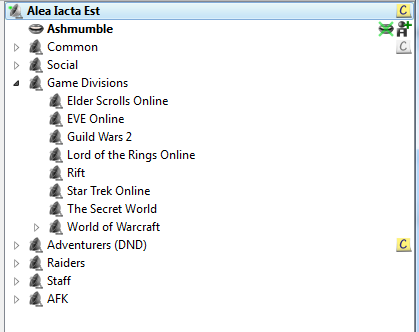
- Double-click a channel name to move to that channel
- Notice that even though the username specified was “ashtest”, the name shown in mumble is “Ashmumble” – ie the value entered in UMAMI Display Name field.
- If it won’t let you move channels, it is probably due to using the wrong UMAMI USERNAME.
