Pidgin Setup
Jump to navigation
Jump to search
Now that AIE has it's own Jabber chat up and running, you will want a way to use it. For that, you need a Jabber client. This guide walks you through setting up an account for AIE's Jabber service in Pidgin.
Prerequisites
- Have an UMAMI username and password
- Download from http://pidgin.im
- (Just click the "download now" button on the front page.)
- Install the package
- Default options are fine. Possible option adjustments include:
- Spell check support (just pick the appropriate language, like 'English (Canada)')
- The only URI handler you need for AIE Jabber is xmpp
- Default options are fine. Possible option adjustments include:
- Optionally, test your credentials at https://tools.aie-guild.org/jabber/
- Making sure you are using the correct username and password will help with Pidgin setup.
This guide was made using Pidgin 2.10.17 for Windows but other versions should be similar.
Setting up Pidgin
- Run Pidgin
- Running for the first time will display the following:
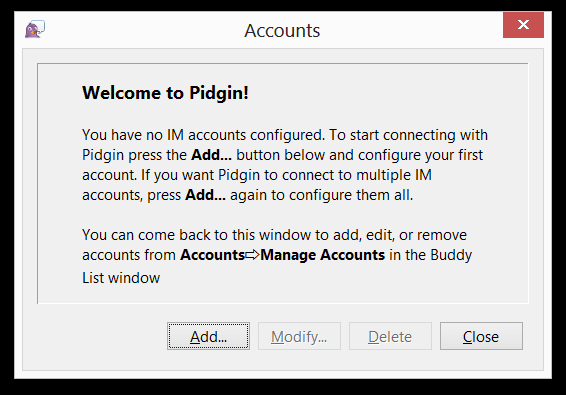

- Click the 'Add' button.
- You'll get the 'Add Account' dialog:
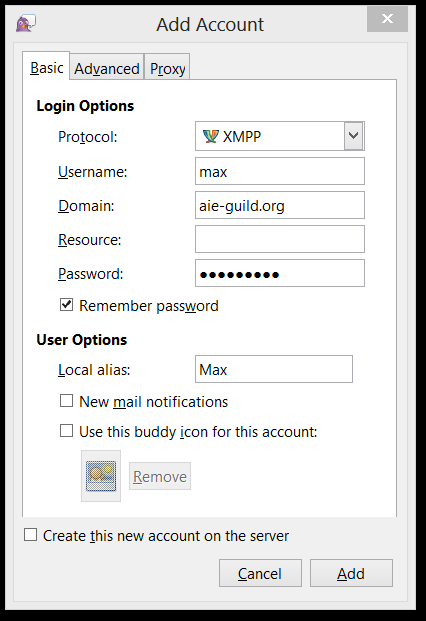

- For 'Protocol' pick 'XMPP'
- For 'Username' enter your UMAMI login name
- For 'Domain' enter 'aie-guil.org'
- For 'Password' enter your UMAMI password
- Optionally, check 'Remember password'
- Optionally, adjust your 'Local alias' (you should keep your UMAMI name here so we can identify each other, but adjusting capitalization can be done here.)
- Click 'Add'
- You may get the following certificate message:
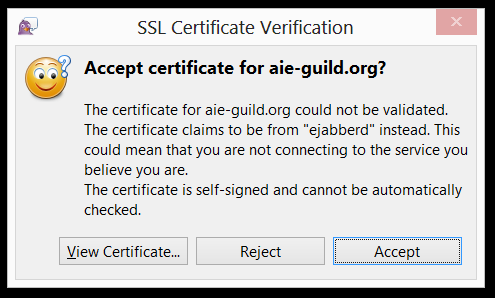

- Click 'Accept' on the certificate message if you get one (Because: In Stigg We Trust)
- You should now see the Accounts dialog with your AIE account set up:
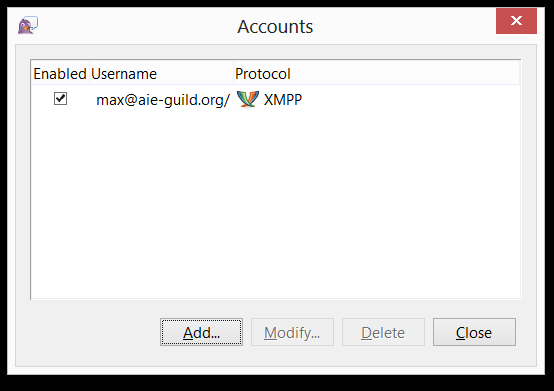

- Click 'Close'
- You should now see your 'Buddy List' main Pidgin window:


- Optionally, right click on 'Max', select 'IM' and say hi!
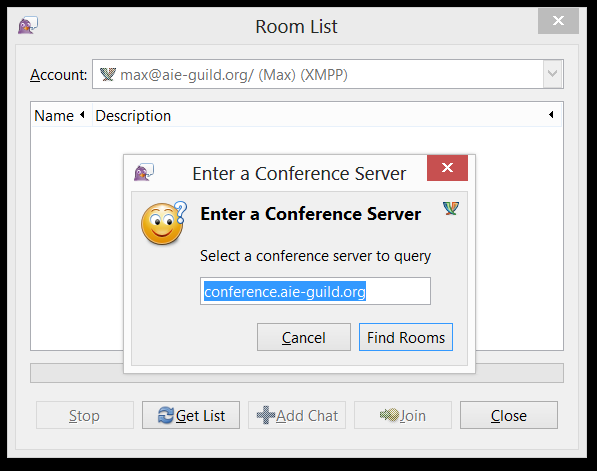
- Next, you'll add the AIE chat rooms:
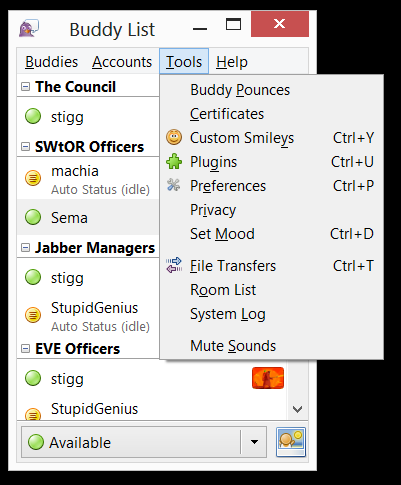

- Click 'Tools' -> 'Room List'
- On the 'Room List' dialog click the 'Get List' button.
- You should now see the 'Room List' dialog with a 'Conference Server' message: